Add Date, Page Number, and Page Count
To add a date, page number, and page count to your banded report:
- From within the Editor, click the “Add a System Data Field” icon
 on the toolbar, then click anywhere within the Page Header band to place the object. Placing the object will open the Edit System Data Field dialog.
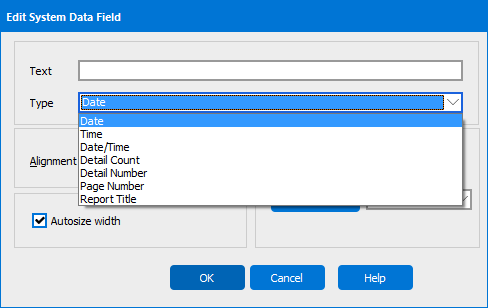
- There are a number of Date/Time selections, but select Date for this example. You need not enter anything into the Text field for this example.

- Note the addition of the date field in the Page Header band. Drag the field to the upper right corner of the band.
- Next the string ‘Page x of y’ will be created and placed underneath the date within the Page Header band. Within the Band Report Editor, click the E=mc2
 icon, then click anywhere within the Page Header band.
 - Click the ellipsis button
 to the right of the Expression field.
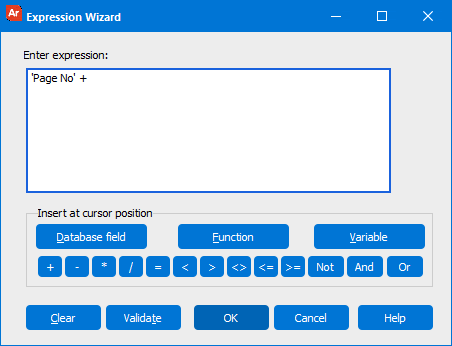
- Enter the first segment of the expression which consists of the string ‘Page No. ‘ and the + operator: The + operator concatenates strings and eliminates leading/trailing spaces.
- Click the Function button to display the list of available functions. Select PAGENUMBER from the list.
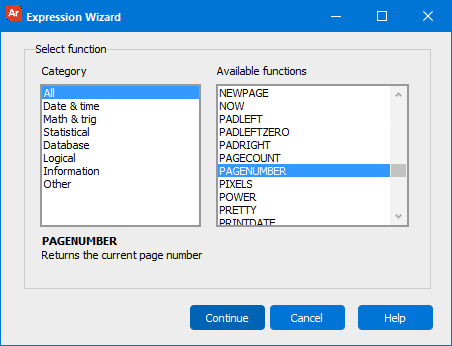
- Click Continue to launch the Expression Wizard.

- Click the Function button again to display the list of functions again. Select PAGECOUNT from the list.
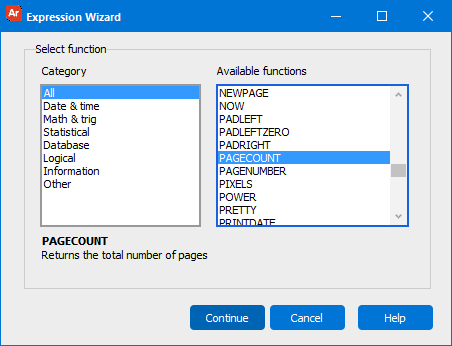
- Click Continue to return to the Expression Wizard.
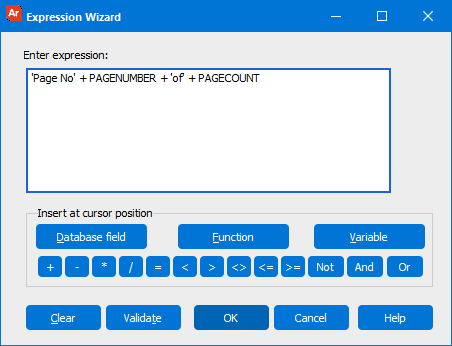
- Check your completed expression and click OK to return to the Edit Expression Field dialog.
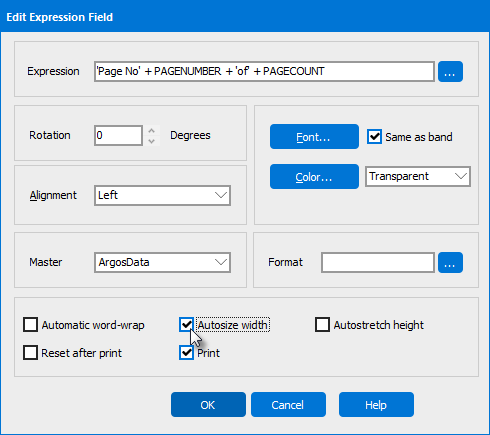
- Check the "Autosize width" and "Print" checkboxes and click OK.
The new field is now positioned within the Page Header Band. If it is not positioned in the desired location, drag the field until it is underneath the date.